
5 Steps to Successful Maker Time
5 Steps to Set Yourself Up for Successful Maker Time
If you’re like me, you’ve probably made dozens of excuses for not giving yourself creative time. I’m guilty of this on an ongoing basis, so I’ve formulated a way to help myself—and all of you—have the time and space for creativity and making. Why? Because making makes us happy!
Please don’t expect for this to be the end-all-be-all magical HGTV makeover kind of thing. That’s not how I roll (and I don’t have that kind of production team to pull it off). Think of this as a skeleton, an outline, that you can fill in however you want. What you may find is that one or more of these components evolves over time as you get more accustomed to taking hold of your maker time.
Step 1: Set Up a Dedicated Space
This is going to be the most challenging for most of us, especially if your living environment doesn’t include an extra room with a door. By “dedicated,” I mean a space you always work so you don’t have to nomad your projects around or clear off another surface every time you want to make. Even if you don’t have the luxury of a craft room or workshop, it doesn’t mean you can’t have a dedicated space, and it doesn’t have to cost you the moon.
Your maker space can be anything you want it to be. Think about the things you make. Do you need a flat surface or just a nice, comfy chair? Can you work standing up? Do your projects require a lot of spreading out? Look around your home and think about where you might be able to reuse some of that space for your projects in a manner that allows you to set up quickly and use the time for making rather than dismantling or cleaning. Here are some suggestions for portable and flexible workspaces (please note that the links I’ve provided are neither affiliate links nor endorsements of any kind—prices and products vary widely, and I’ve only provided examples for your Google searching):
- Folding cutting table—these have wheels and fold down to the size of a tall console table. They often include storage racks underneath, as well, so you can store your work in progress. You can wheel one into a closet or slide it behind your sofa, toss a tablecloth over it and call it a console table when it’s not in use.
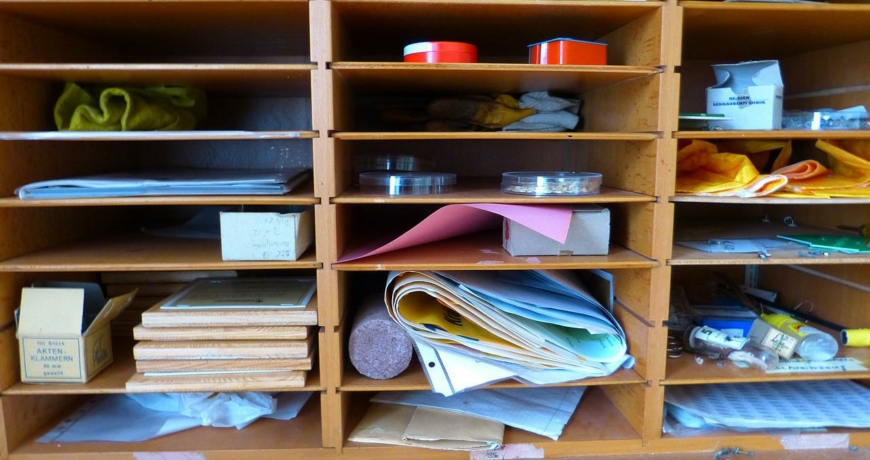
- Bookshelves—why not clear off a shelf or two for workspace and donate those unread books to your local library? Depending on the size and depth of your shelves (if you already have them), you may be able to put your sewing machine on one and use another to store your work in progress. Or if you’re handy, you can add two folding legs to a board and prop the other end of it on a shelf to work as a portable desk that can be stowed underneath a bed or behind other furniture.
- Wall mounted ironing board—most of us have space behind a door somewhere that could be used to mount an ironing board. If the board is mounted at desk height and reinforced with a leg, you can use it as both a sewing/crafting table and an ironing board. If it’s reinforced, you can also extend the usefulness of your ironing board by placing a larger board (padding for ironing or not) on top of it for more work surface.
- Converted ironing board—alternately, you can convert a regular folding ironing board into a monster portable craft table. The larger top can be built to lift off or can be attached to the ironing board so that the entire thing folds for storage against a wall or behind another piece of furniture when you’re finished.
- Murphy table—you’ve heard of a Murphy bed, right? This is the same concept, except it’s a table that folds up against a wall, rather than a bed. As tiny houses become more popular, the range of choices for this type of table has grown exponentially.
Step 2: Set up your materials beforehand
By “set up,” I don’t necessarily mean put everything out. I mean identify what you’ll need for the project you want to work on and gather or prepare those items as you have spare moments, like waiting for your microwave meal or for your machine to make coffee. Where are your scissors and other tools? Where are your materials and have they been pre-washed/pre-treated? Do you know where that pattern is (and has it been printed and assembled, if necessary)? If those items don’t all live in the same place, gather them in one place so you can use all your making time for project work instead of running around looking for the right color thread or pattern instructions.
An inexpensive toolbox or rolling file box is an excellent way to corral project items if you don’t already have a place to put them together. I’ve even seen small storage ottomans, if you want to be able to use your storage box to be multi-use!
Step 3: Set Boundaries
This one is hard for me sometimes. Setting boundaries means making the people you live with aware that you will be using a specific chunk of time for making, and only making. No phone calls, no “can you take me here?” and no honey-do’s. Maker time.
I’ve found the easiest way to approach this is to share your intentions with your partner, or whomever else, in advance. It’s best not to assume everyone else knows your plans without telling them first. Say something like, “I’d like to work on my project tomorrow from 6:30-7pm. Please make your own plans for that time. If you need help with homework, chores, etc. I will help before or after that.” Be clear, specific, and firm. Put it on the calendar if you need to but set aside that time and use it. We all make compromises, and we all have to negotiate, but it’s in your every right to decide to use that half hour of your own time to do something that makes you happy.
Step 4: Set Easy Goals
This is especially helpful if you haven’t yet made a habit of giving yourself time to make on a regular basis. If you know you only have 15 minutes twice a week, keep things simple and plan to work on something that shows a bit of progress each time rather than a long-haul project that will only show results as you near finishing it. For example, 15 minutes is not enough to lay out and cut a garment if you don’t have a cutting table you can walk away from halfway through. However, if you can carve out a chunk of time to cut out a couple or three things at once and have them ready beforehand, then 15 minutes is enough to sew two, three, maybe even half a dozen seams, depending on what you’re making. That’s progress!
On the other hand, if you’re doing handwork, needlework, knitting or crocheting, you’ll probably see a bit of progress every time you pick it up for 15 minutes at a time. Just make sure you take notes of where you left off, especially if your allotted maker time is brief. That way you won’t have to spend time remembering where you were and when you pick it back up, you can start right in.
Remind yourself that the overall intention of this entire exercise is not to create something remarkable in 15 minutes. It’s to consistently give ourselves maker time and make a tiny bit of progress, which has been proven to help us feel better about life and about ourselves.
Step 5: Set a Timer
This step is kind of a trick. First, it’s meant to keep you from watching the clock. Set your alarm and work until it goes off—no peeking! Second, it’s meant to help you realize just how much you can accomplish in a very short amount of time, even 10 or 15 minutes. Third, if the alarm sounds and you’re in a flow state, you can decide whether you want to keep going or to go do something else. It’s up to you and your schedule, but the feedback I’ve gotten from folks who have done this indicates they often turn off the timer and keep working because they’re in such a good state of flow (for more about this, check out my post on Finding Your Flow).
Good luck setting yourself up for successful making! I hope these five steps help and that you’re all inspired to give yourselves some valuable creative time. Now we just have to decide what to work on next…
There are no comments